Follow the steps below to add axes, titles, labels and grid lines to the 3D view:
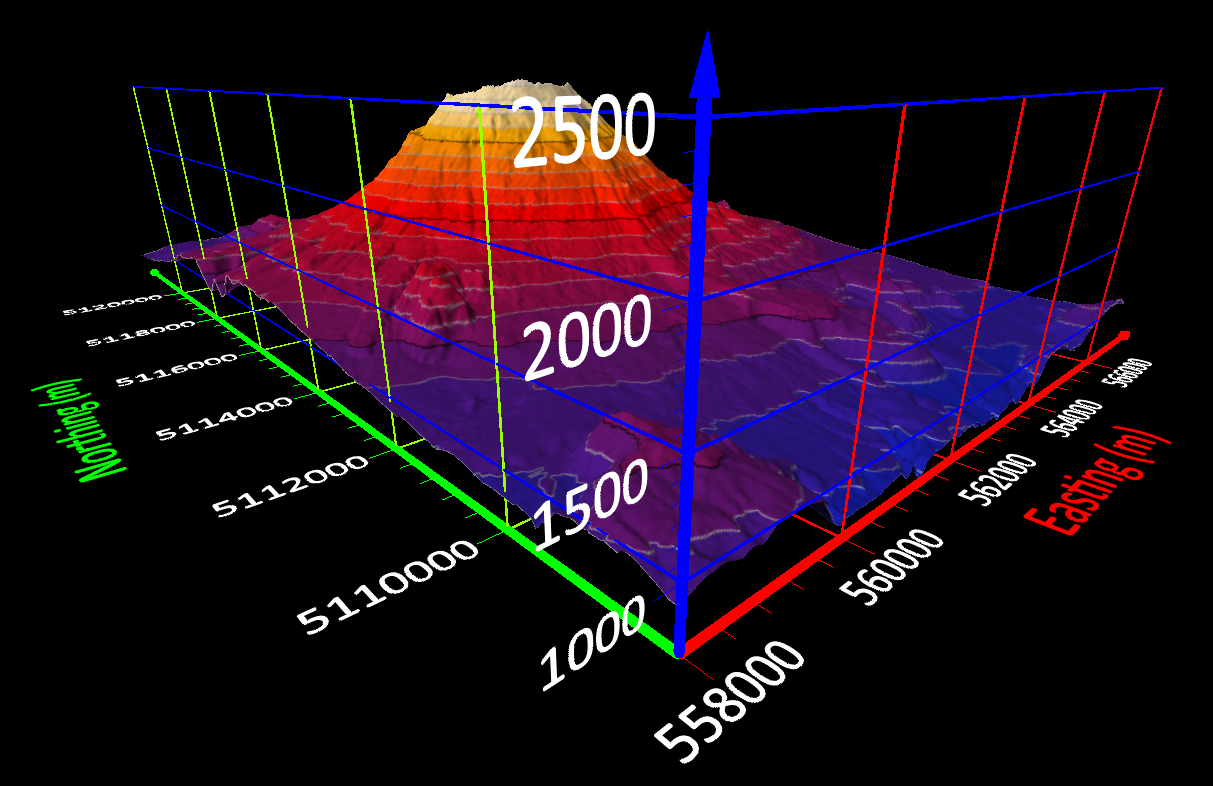
Add axes:
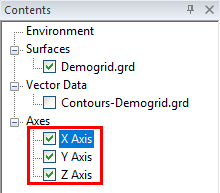
Axes will be created by default when you open the 3D view. You can control the visibility of each axis using the checkboxes in the 3D view Contents window
Adjust axis spacing and grid lines:
The axis will inherit the limits and spacing of the 2D axis by default To adjust the limits and spacing of the axes in the 3D view, follow these steps:
- In the 3D Contents window, click on one of the Axis objects.
- In the 3D Properties window, click on the Scaling tab.
- Adjust the Axis minimum and Axis maximum, as desired.
- Click the Ticks tab.
- Adjust the Tick min, Tick max, Major interval, and Minor ticks per major, as desired.
- Check the boxes to Show major grid lines and Show minor grid lines, as desired.
Add axis titles:
- In the 3D Contents window, click on one of the Axis objects.
- In the 3D Properties window, click on the General tab.
- Enter your preferred label text into the Title text field.
- Adjust the Title angle, Title offset and Font properties, as desired.
Edit axis labels:
- In the 3D Properties window, click on the Labels tab.
- Control label visibility with the Show checkbox.
- Adjust the Font Properties and Label Format, as desired.
Updated November, 2021
Comments
Please sign in to leave a comment.